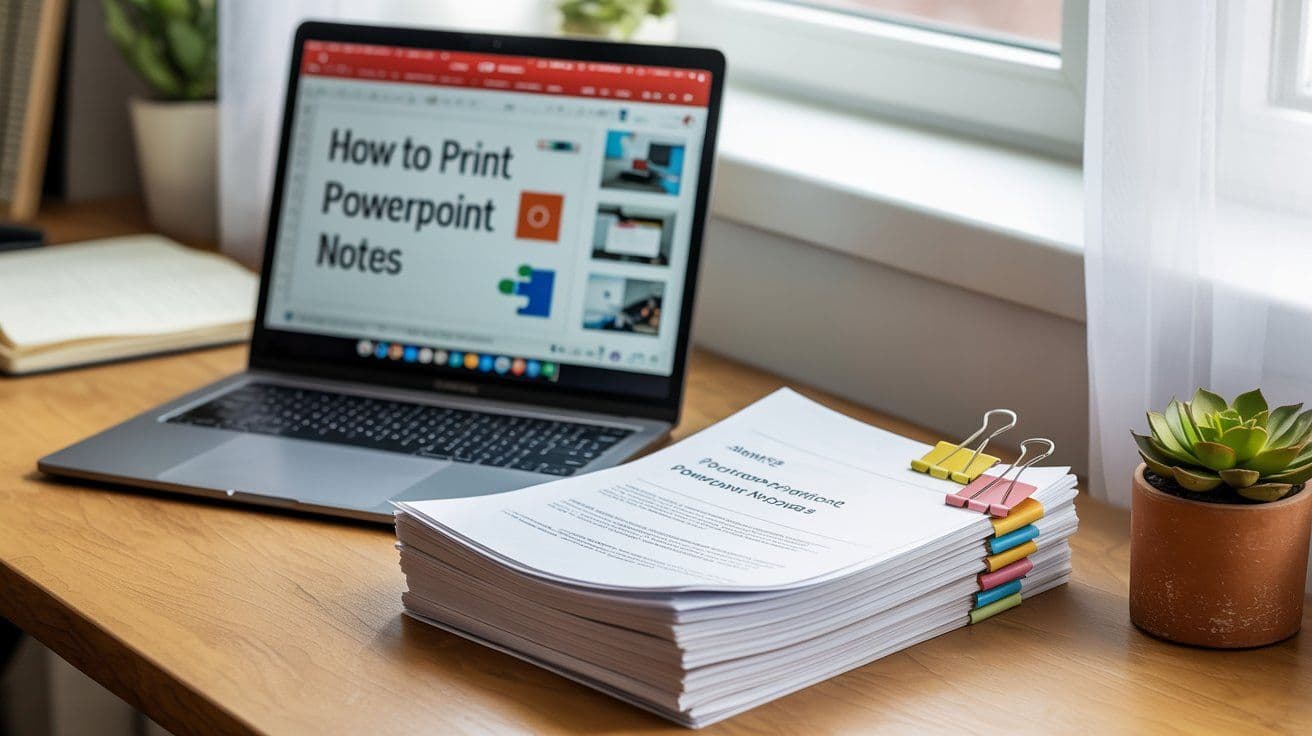
Printing PowerPoint slides can be essential for a wide range of users from students preparing for exams to educators distributing lecture notes or professionals sharing handouts during presentations.
However, if done inefficiently, printing can waste paper, ink, and time. This step-by-step guide explains how to properly print PowerPoint slides,
whether for digital export or physical distribution, using optimized settings that save resources without compromising clarity.
Why Printing PowerPoint Slides Matters
There are two major reasons why printing PowerPoint slides is important:
1. For Students and Learners
If you're a student, you might be given a PowerPoint presentation as a handout. Printing the slides can make it easier to review content offline or annotate them during study sessions.
But printing full-color slides wastes ink and paper especially if the slides are heavy with images and backgrounds.
2. For Teachers, Trainers, and Presenters
As an instructor or presenter, you may need to distribute printed slides to your audience. This helps participants follow along, take notes, and retain more from your presentation.
In both cases, optimizing your print settings is critical to minimize ink usage, reduce the number of pages, and ensure everything remains legible.
Step-by-Step: How to Print PowerPoint Slides Efficiently
Step 1: Open the Print Menu
Open your PowerPoint presentation.
Go to the File tab in the top-left corner.
Select Print from the sidebar menu.
Alternatively, use shortcuts:
Ctrl + P (Windows)
Command + P (Mac)
This opens the main print interface.
Step 2: Choose a Printer or Print to PDF
Select your desired printer from the dropdown menu.
If you want a digital copy instead of a physical print, select Microsoft Print to PDF or Save as PDF.
This option is especially useful if you’re submitting assignments online, sharing notes, or simply storing a digital handout.
Step 3: Select Which Slides to Print
By default, Print All Slides is selected.
If you only need specific slides, enter the slide numbers (e.g., “1-3” or “2,5,7”) in the Custom Range field.
This allows you to avoid printing unnecessary slides.
Step 4: Change the Print Layout
This is the most important section for saving ink and paper.
Click the Full Page Slides dropdown to reveal other layout options.
Choose from:
Notes Pages – Prints one slide per page with speaker notes underneath. Ideal for presenters.
Outline – Condensed text-only format showing slide titles and content. Great for studying.
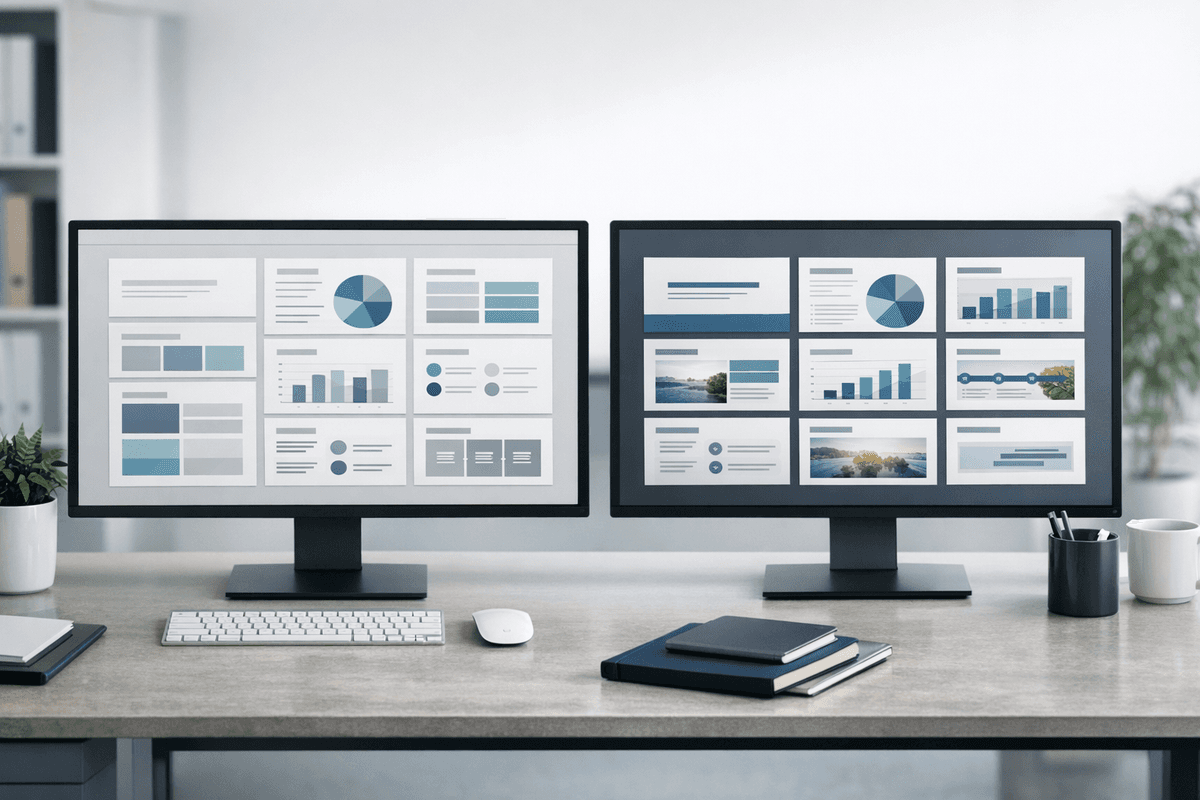
Handouts (2, 3, 4, 6, or 9 slides per page) – Shows multiple slides on one sheet.
2 slides per page is ideal for legibility.
3 slides per page includes lines beside each slide for taking notes.
Tip: If your presentation contains a lot of visuals or text, avoid 6 or 9 slides per page, as the content may become too small to read.
Step 5: Set Color Options
To avoid excessive ink usage:
Click on Color to open color settings.
Choose:
Color – Use only if color is critical to understanding.
Grayscale – Converts all content into shades of gray.
Pure Black and White – Best for text-based slides; removes all background images and colors.
Using black and white printing drastically reduces ink consumption, especially when printing dozens of slides.
Step 6: Check Preview and Print
Use the Print Preview panel to confirm how the final output will look.
Check layout, font size, slide visibility, and note spacing.
Click Print once you're satisfied.
If you're printing to PDF, you'll be prompted to choose a save location.
When to Use Outline View or Notes Pages
Outline View
Perfect for students and readers who want to understand the presentation’s structure and content without visuals. It compacts multiple slides onto fewer pages e.g., a 13-slide presentation might fit on just 2 pages in outline view.
Notes Pages
Excellent for presenters who want a script or speaking cues printed with the slides. It displays one slide per page with room underneath for notes.
Final Tips for Print-Friendly Presentations
Avoid full-color backgrounds in slides if you plan to print.
Test print one page to check layout and readability before printing the entire deck.
Save a PDF version of your slides for mobile access or emailing.
Use smaller fonts with caution if planning to fit many slides on one page.
Conclusion
Whether you're a student trying to save money at a public printer or a professional preparing handouts, understanding PowerPoint’s print settings will save you time, paper, and ink. By adjusting the layout and color preferences wisely, you can ensure high-quality printouts that are easy to read and cost-efficient.